Introduction:
The oven is one of the most used appliances there is in any home and is often the focal point of the kitchen. Although it is one of the most important appliances in the kitchen, cleaning our ovens is no task anyone looks forward to.
Cleaning the oven is one of those jobs we will keep putting off, but a clean oven will make a considerable and noticeable difference, not just in aesthetics but most importantly performance. Through removing excess grease, old food waste will ensure you are keeping your hygienic, safe and removing those funny smells which fill your kitchen.
It is about time you got down and dirty and cleaned your oven. Cleaning your oven does not need to be complicated, and this guide will take you to step by step through the process.
This guide will show you that cleaning your oven encompasses 5 simple steps, steps you can carry out while you wait for the items which need a deeper clean.
- Before you start, you need to make sure the oven is cool. Once the oven is cool, start to remove the excess dirt.
- Mix water and baking soda. Proceed to line the bottom of the oven with this mixture.
- While you wait for the bottom of the oven to soak, tackle the oven racks.
- Clean the oven window.
- If needed, scrub the stovetop.
1. Remove Excess Dirt
To start it is imperative you make sure your oven has cooled down before you do anything. If your oven is still warm you are at risk of burning yourself and exposing yourself to chemicals if you apply the cleaning tools too early.
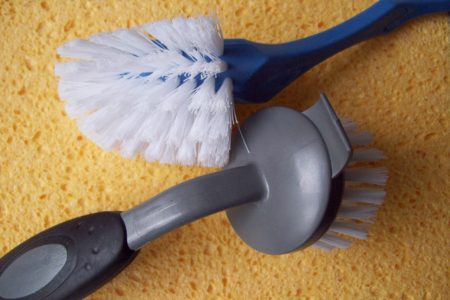
Once the oven is cool and before you start the deep clean, use an old cloth or sponge to remove the burnt lumps of food on the side and bottom of the oven that has formed. This will make the deeper clean easier when you come to that stage. To give yourself ample room and access all corners of the oven, it is recommended you remove the oven racks.
2. Create a mixture of Baking Soda and Water
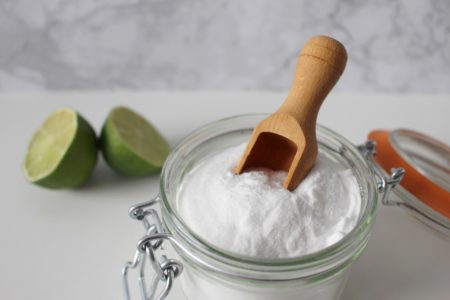
In similar fashion to cleaning a dirty pan, you should let the bottom of your oven soak in a mixture of baking soda and water (this is where you need to make sure oven is cool, and most importantly the element is cool). The mixture should consist of ½ a cup of baking soda and water and mix until it forms a paste. Once you have made the paste, you can start to cover the bottom of the oven making sure you reach the far corners and have an equal covering across. It is recommended to lay newspaper down and wear rubber gloves and this part can be extremely messy.
Depending on how dirty the oven is, determines how long you leave the paste to soak in. It is recommended that you leave the paste to soak in overnight and proceed to scrub the next day.
3. Oven Racks
It’s time to move your focus away from the inside of your oven, and now to the all-important oven racks. As the bottom of the oven, if the racks are covered in a substantial amount of tough grim, it is worth soaking them in hot water and washing-up-liquid overnight. If they are not too bad a substantial scrub with hot water and a cause sponge, and then a final trip to the dishwasher for the last wash.
4. Oven windows
It doesn’t just look bad, but a dirty oven window is extremely un-hygienic. Using the same mixture to clean the bottom of the oven will be very useful in removing the grime that has developed over time. As the bottom of the oven, it is recommended that you leave it to soak and allow some of the grime to be lifted. After a couple of hours, wash down with a damp cloth until you have removed all the noticeable grime. Once completely clean, you can use a normal window cleaner to give the oven window a final polish.
5. Stovetop
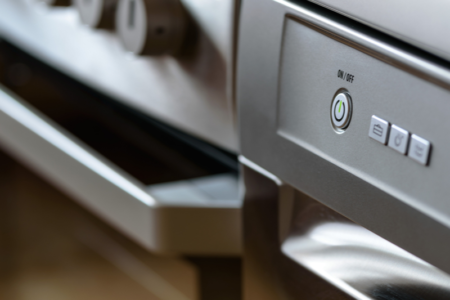
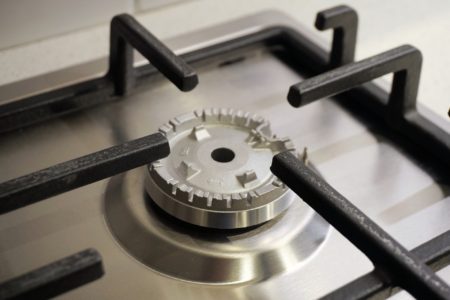
Whilst you wait for the several elements to soak, it is worth having a look at the stovetop. Although the stove is often included in the cleaning of the work surfaces, this is a perfect chance to give it a deep clean. If you can, remove the casings around the rings, the stands for the pots and pans and scrub with a tough sponge, either with a specialist cleaning product for the stove or with a mixture of baking soda, salt and warm water. Have a look at the dials on the stove as well, and scrub around and underneath them, as dirt and grease from cooking can spit out of the pan and settle underneath.
Conclusion:
This guide has given you a step by step process of how to clean your oven. Although the actual task of cleaning your oven is not an enjoyable one and is often a messy task, this guide has aimed to show you how simple but effective it can be. It is important to note that you do not need to do this every week, but a regular deep clean every couple of months will keep your oven in the condition in which it can perform at its optimum function, hygienic, and ultimately the safest it can be.
If you are looking for a more professional job, here at Sussex Oven Cleaning, we provide a first-class service from one of the highly trained operatives. Using non-toxic and environmentally friendly products, we provide a thorough clean inside and out, tackling the grime and carbon that has built up over time. By the time we have finished, we aim to leave your oven in show room condition.

